Ok, so I am not going to go into my "I want locs" rant because y'all already know that to be true. Plus, I think I've said it enough for everyone to get the picture, so with that being said I won't bore you today...LOL
(Photo via Tumblr)
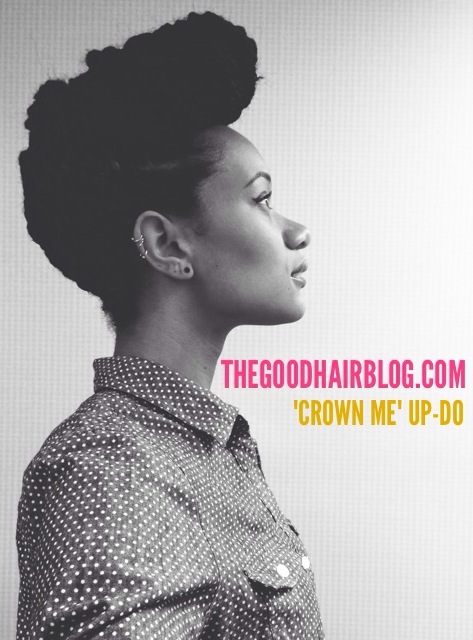
I like to name things so let's call this style "Crown Me." Below you will find my Marley twist video that you can refer to if you're thinking about installing your own. In addition, I will try my best to "type you through" what I did style wise. If any of you want a visual, let me know and I will make a YT tutorial.
^How to video ^
Prep time: (1.5-2 hours to install)
*Denman Brush
*Rat tail come for parting
*Butterfly clips for securing sections
*Spray bottle
*Styling product like gel (I used Ouidad's Whipped Curls)
*Shea Butter
* 4 packs of Marley twist hair (doesn't have to be the brand I used)
What you will need for updo:
*6-8 long straight hair pins
What I did:
Prep time: (5-10 seconds to complete after a few tries)
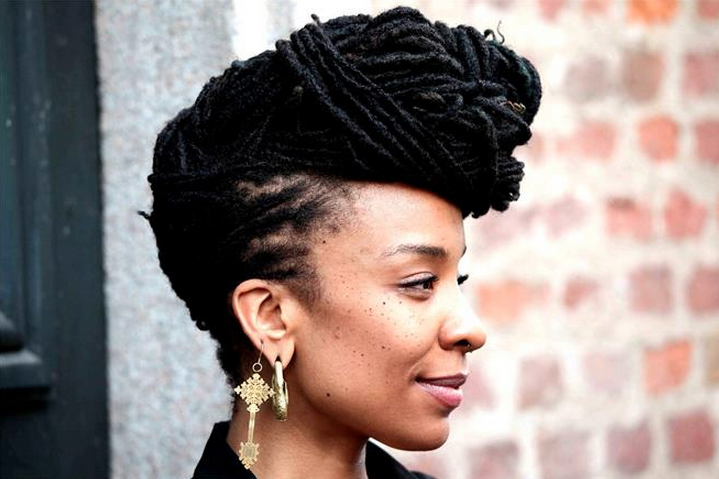
1. Crisscross the twists upward toward the top of your head, alternating right and left sections. (Reminiscent of an upside down french braid but without 3 sections of hair)
2. When you get to the top of your head, two strand twist the remainder of hair.
3. Wrap the long twist to the right of your head (the "crown" should look like the letter "c").
4. Tuck the tail of the twist so that it's hidden and secure with a bobby pin.
5. Go through and pin in the places you see fit. I focused on the middle of the "crown" so that the twists were secure to my head.
10 comments :
This is super cute!! Looks like it took a long time though....
@bijee it didn't. The twists tool 2 hours to install. The up-do took 5 seconds.
This is gorgeous! Thanks love for more inspiration :)
This came out so pretty!
Please make a YT tut on this! I love it, I'm just a visual learner.
Omg this is so cool ant cute! i have to try this! can you please do a YT tutorial... :(
Gorgeous
Oh my gosh this is so cool! I have the loc extensions in now, and I've been trying to do cool little styles like this! thanks for the idea! and when is heatfreehair coming out with the for coils collection? It sounds PERFECT!
hey i LOVE your blog! you are just adorable :-) how may I contact you? i clicked on the email link in the contact tab and nothing opened up :-(
love it! check out www.humanalienllc.com for accessories!
Post a Comment